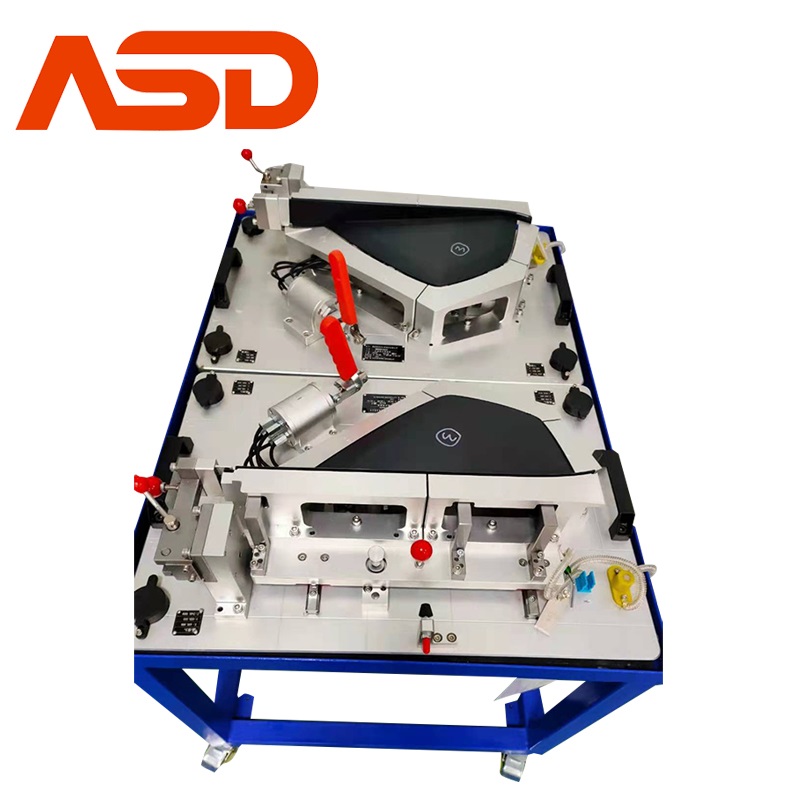
Brief Introduction of Three Clamping Methods for Standard Parts of Automobile Inspection Tools
The first method is: horseshoe shaped indenter clamping method: the chuck is made of aluminum, and the opening should be larger than 6.5mm This method is usually used by the masses, and the three-coordinate measuring machine can measure the base point of the RPS positioning surface. In order to achieve this goal, the clamp arm should not exceed the base point of the RPS positioning surface; otherwise the three-coordinate probe will be blocked by the clamp arm and affect the measurement. If there are positioning or inspection pins on other positioning surfaces, it should be noted that the chuck should not interfere with the positioning or inspection pins when the clamp is opened, which will affect the operability.
The second method: positioning surface and clamping: in principle, each positioning surface needs to be clamped locally, and the clamping point should be located at the base of the positioning surface. The clamping direction of the clamping device of the standard parts of automobile inspection tools should be the same as the normal direction of the positioning surface. The angle between the positioning surface and the supporting surface of the clamper is less than 5 degrees, which can be neglected. If it is greater than 5 degrees, the clamping direction of the clamper should be the same as the normal direction of the positioning surface.
The third method is: flat-push clamping: including clamping by clamps and tension springs. Usually, we should try to think about clamping by clamps.


