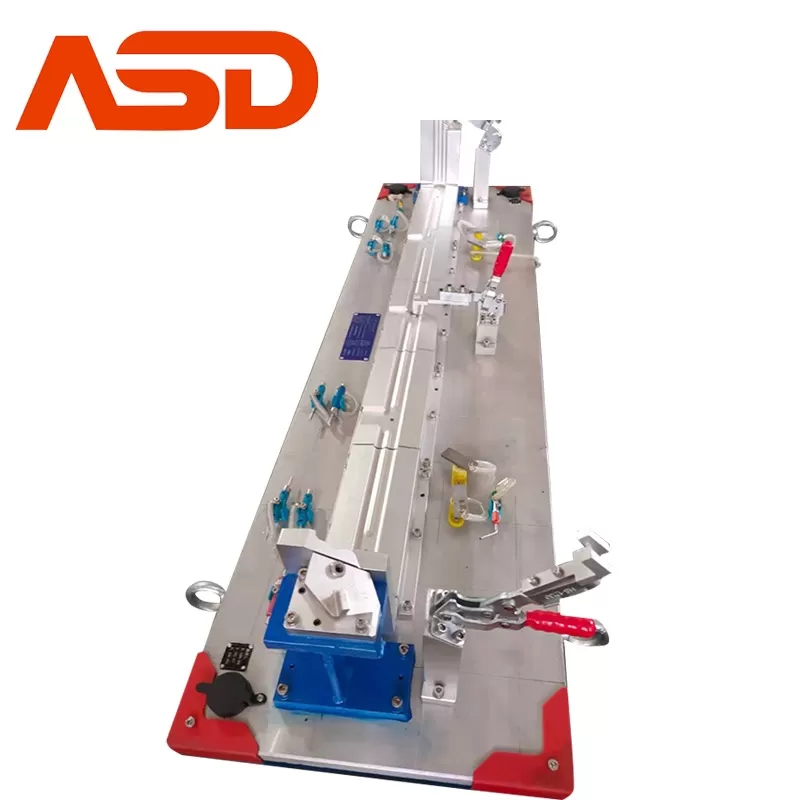
Do you know the influence of product positioning on automobile inspection tools?
Automobile inspection tools are developed according to the special planning and design requirements of various models. Professional automobile inspection tools can be used to check their dimensions and then make measurement and evaluation. They are mainly used for measuring and adjusting the precision of molds in the production preparation stage and daily management of dimensions after mass production. So what impact will our product positioning have on automobile inspection tools? Let’s take a look at it! According to the constraint of workpiece freedom, workpiece positioning can be divided into the following types:
1) Complete positioning refers to the positioning in which the six degrees of freedom of the workpiece are not repeatedly constrained. When the workpiece is in the X,Y and Z coordinate directions, there are size requirements or position accuracy requirements.
2) The limited number of degrees of freedom of incompletely positioned workpieces is less than six.
3) Underpositioning means that the degree of freedom that should be restricted according to the machining requirements is not completely restricted. The positioning with insufficient constraint points is called underpositioning. Underpositioning is not allowed.
4) Over-positioning. The positioning state that the positioning element repeatedly restricts the direction of the same degree of freedom of the product is called over-positioning. Whether this positioning state can be used or not depends mainly on its consequences. Over-positioning results in deformation of the product or interference between the product and the positioning element, which obviously affects the placement state of the product. Over-positioning cannot be adopted. Or reduce the interference caused by over-positioning, there are generally two methods: One is to change the structure of the positioning element, such as reducing the contact length of the working face of the positioning element or reducing the fitting size of the positioning element and increasing the fitting clearance; The second is to control or improve the position accuracy between workpiece positioning benchmarks and between the working surfaces of positioning elements.


